HELMET DESIGN
APRIL 2022
ROLE: DESIGNER & UX RESEARCHER
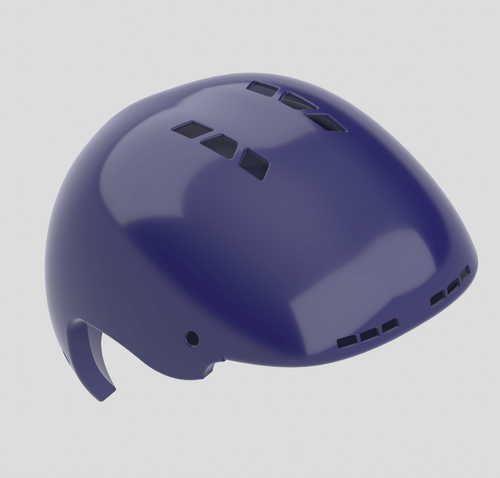
Ski and snowboard helmets make it harder for people with long hair to tie their hair back. The design does not allow users to comfortably tie their hair in a low ponytail. Hair that isn’t tied back also can get into your goggles, neck warmer and get caught on your helmet or jacket, making the ride uncomfortable for the person skiing. However, if the ponytail is put at the back of your head, then the helmet could be uncomfortable to move around in as the ponytail holder gets in the way.
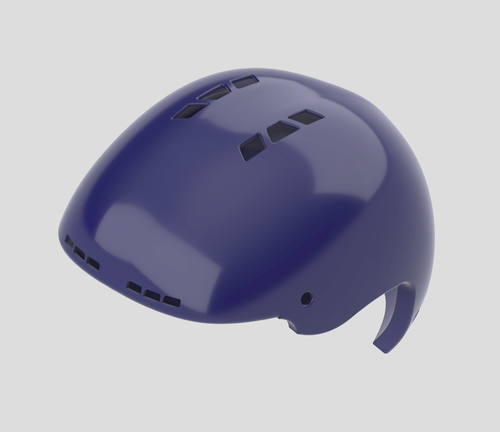
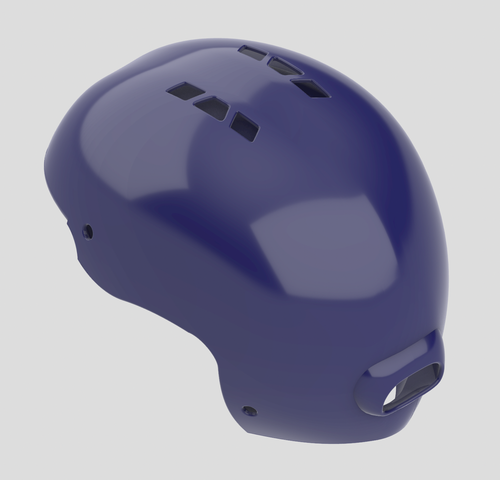
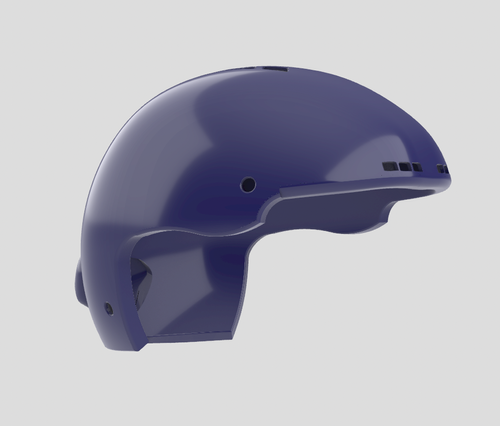
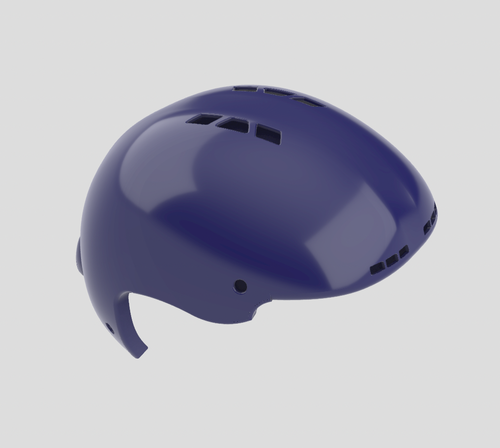
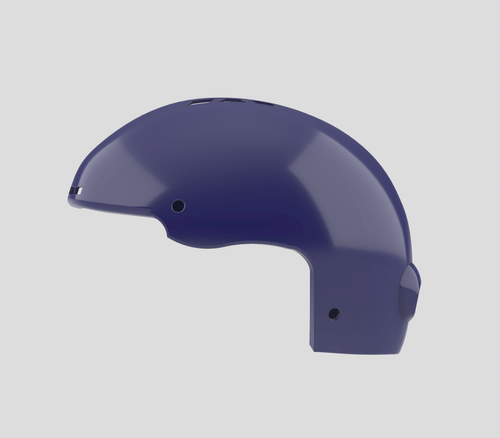
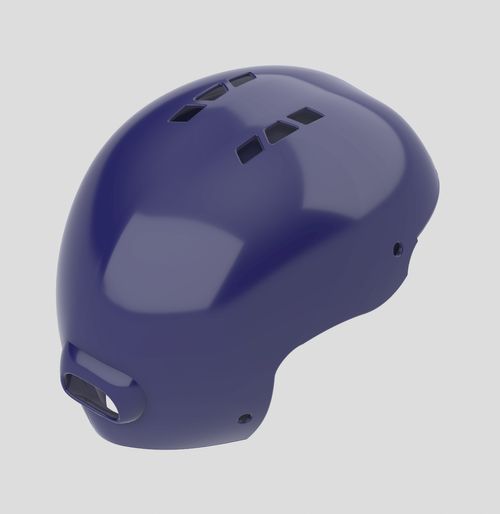
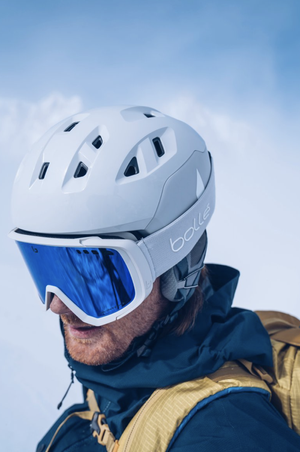
This helmet is carefully designed so that it allows hair to be tied back comfortably while promoting airflow and circulation throughout the head. The helmet is designed so that it agrees with the American ski helmet standard of ASTM F2040 and worldwide standard of EN-077.


RESEARCH
Growing up as an avid skier, I’ve always struggled with ways to keep my hair out of my face in a comfortable way. I knew that for this project I wanted to create a design that allows for comfortable positioning of the hair as well as adhering to national and worldwide safety standards. For this to be possible, I needed to conduct extensive research, focusing on what helmet standards I would need to adhere to in my design.
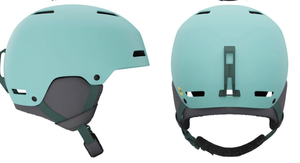
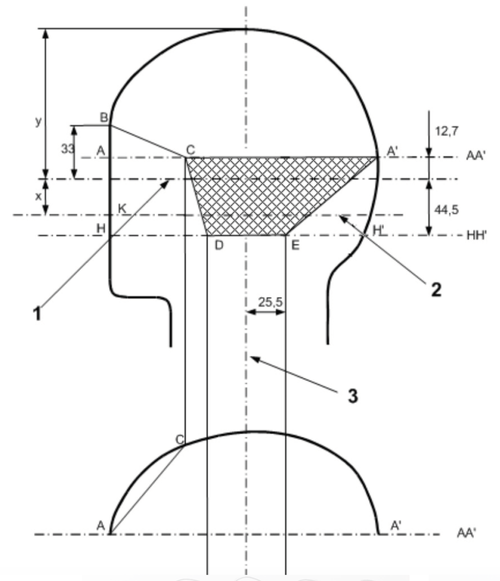
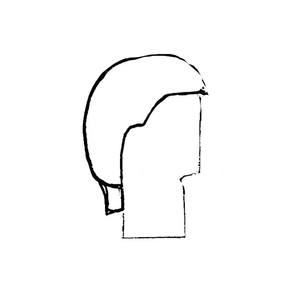
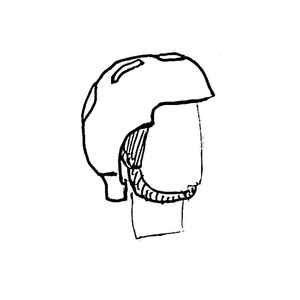
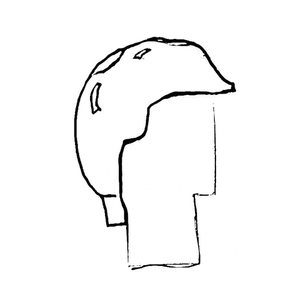
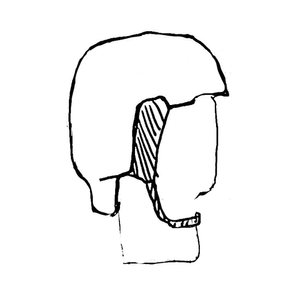
Before changing the design of already existing helmets, I needed to figure out what parts I can manipulate that would still ensure the most amount of safety. One design constraint I ran into was that the helmet needed to at least partially cover the lateral portions and rear portion of the skull. The lower portion being made of a material having a different modulus of elasticity than that of the material forming the upper portion (Patent Application, 2022). As you can see in Figure 2, the changeable area they are referring to is number 22 and one.
The next step was to research the main helmet standards, figure out their constraints and apply that to the design of the helmet. The two main helmet standards I looked into were the EN-1077, European ski & snowboard helmet standard (the most common snow sport helmet standard), and the ASTM F2040, the American ski & snowboard standard. There are actually two versions of the EN-1077 standard—Class A and Class B. The Class A standard requires protection over a larger area of the head—top, rear and sides, including the ears. Class B does not require ear coverage, allowing for better hearing and ventilation, but less overall protection in some rare accidents (DOME, 2017). When the organization created the ASTM F2040 standard in May of 2000, they sought to strike a balance between Snell RS-98’s very rigorous impact requirements and EN-1077’s less demanding impact-testing protocols (DOME, 2017). The ASTM F2040 standard speaks on testing the helmet once the prototype is fully completed, and for the purpose of this project was not something I had to look into thoroughly.

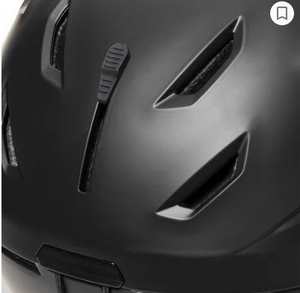
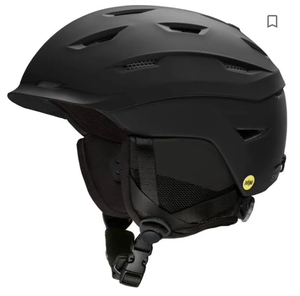
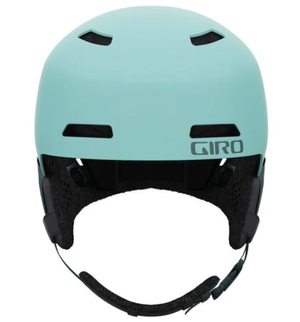
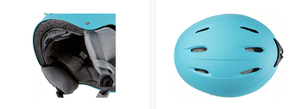
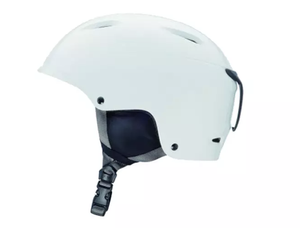
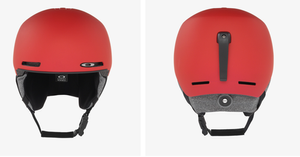
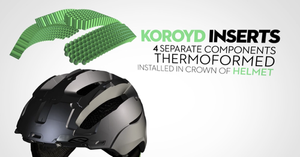
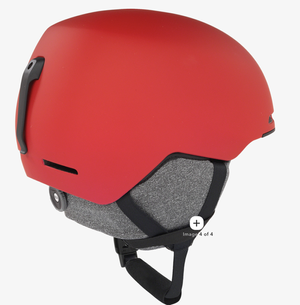
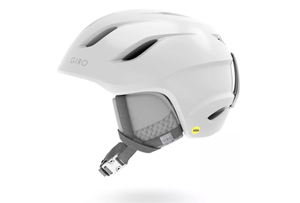
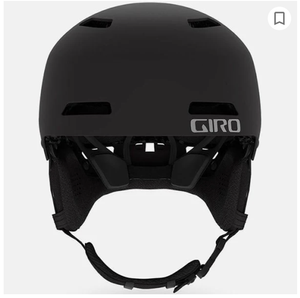
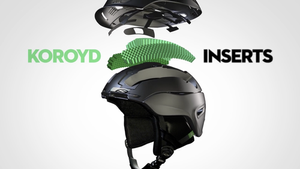
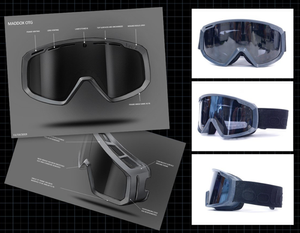
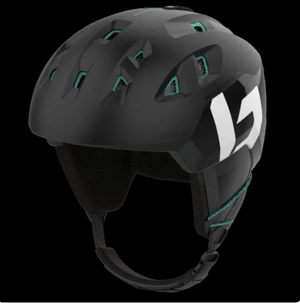
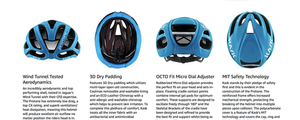
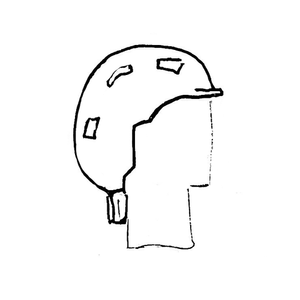
The final step was to look into the parts of a helmet design that needed to be included in my final prototype. The shell is the outer hard shell of the helmet usually made from polycarbonate plastic. It includes an upper portion that covers crown of the skull and a lower portion which at least partially covers lateral and rear parts of the skull. At least one of the upper portions and the lower portion has a wall thickness between one and three millimeters. The junction zone, part of the helmet between upper and lower part of helmet, has a width of less than thirty millimeters. Air vents are put into cool person down or make person warmer. They are normally adjusted by a slider button somewhere on shell, or the inner lining has to be manually taken off on some helmets. Air vents on most helmets also have channels on the inside of the helmet to let air travel through from front vents and leave through rear vents. The goggle mount is an elasticated chord with hook, or a shaped part of the plastic outer shell that makes it hard for your goggles to fall off. The final part of the outer shell is the adjustment, usually located at the back of the helmet so user can adjust helmet to grip their head. Mechanics of adjustment differ; Some use an adjustment wheel, and some have systems with ratchet and buttons. Often the height of the adjustment band can also be adjusted by changing where the top of the padding clips into the helmet's core (Ski Helmet Guide – Ski Equipment – Mechanics of Skiing, 2018).
PRECEDENCE & USER RESEARCH
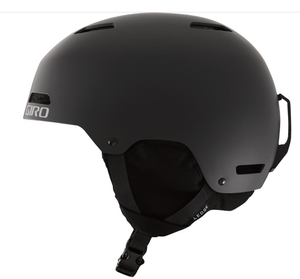
This first step of the design process consisted mainly of precedence research in the form of mood boards and market research, and user research through surveys and personas.


I conducted user research through concept testing. I created a survey and sent it out to 20 skiers with long hair to see if my design concept was worth pursuing. The response to the design was overwhelmingly positive, as every person who answered expressed pain points about keeping their hair contained and comfortable whilst skiing. As you can see in the survey results below, most people said they would definitely or probably buy this product for themselves or a family member who has long hair. Most users also mentioned that they have not seen a ski & snowboard helmet design that resembles this one on the market. This solidified my theory that this is a real design problem within helmets currently offered in the market, and if it were to exist skiers and snowboarders with long hair would be heavily inclined to buy it.
From this, I was able to narrow down my target user and create a persona for who I was designing for.

Survey Response 1

User Persona

Survey Response 2

Concept Card 1 shown in survey
Concept Card 2 shown in survey
IDEATION
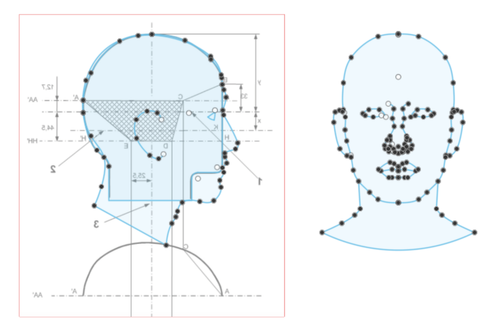
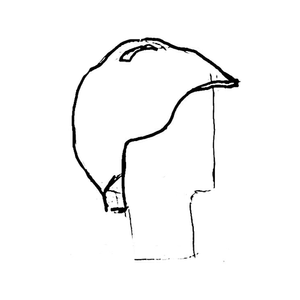
I referenced regulatory head-form sketches and suggested material thicknesses to create a template from which I could rapidly ideate helmet silhouettes. This process would ensure that my design sketches were consistent with the regulatory and safety requirements placed on snow sport helmets, in addition to allowing my sketches to be easily translated from paper to CAD software.

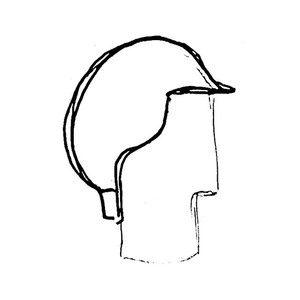

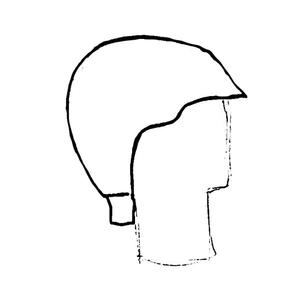


DESIGN 1

DESIGN 2


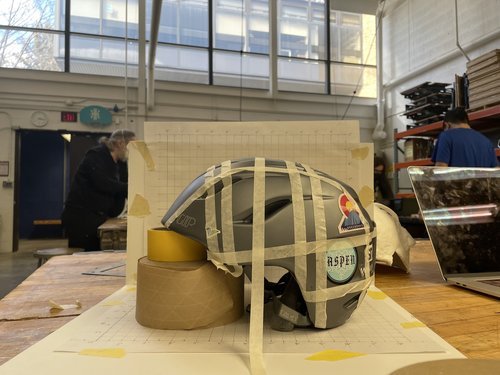
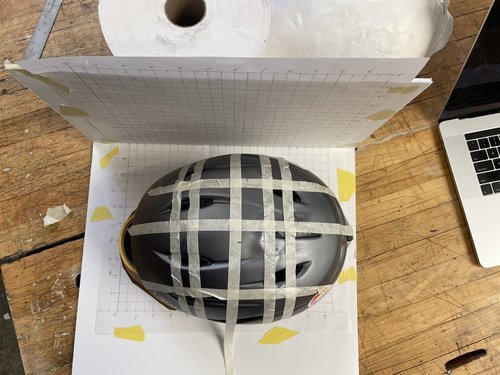
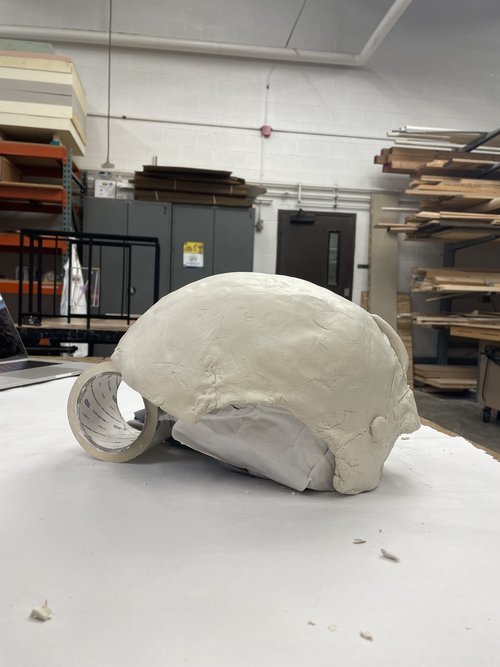
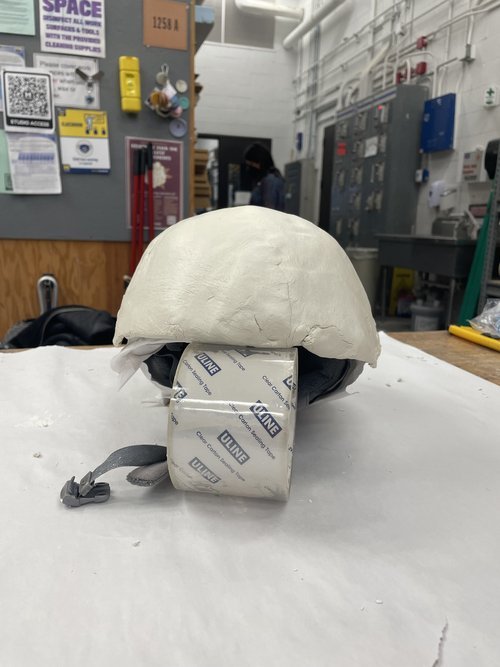
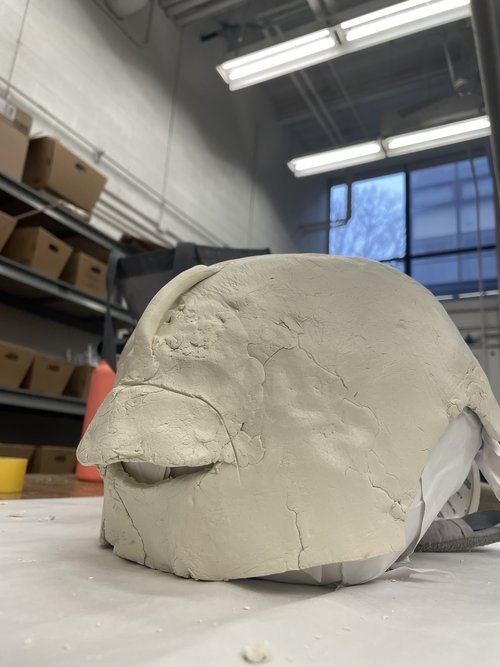
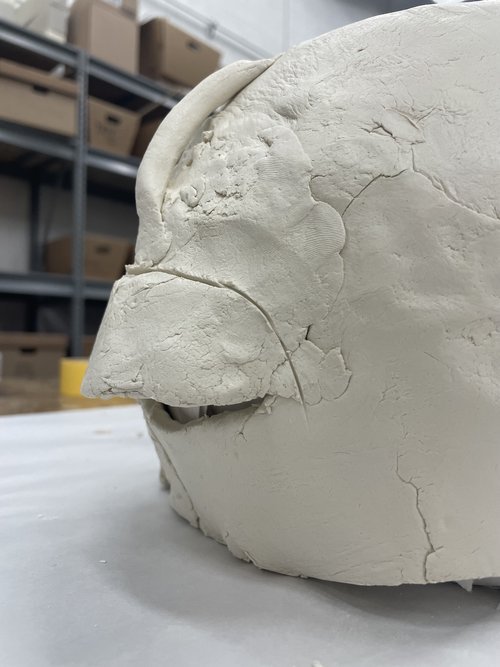
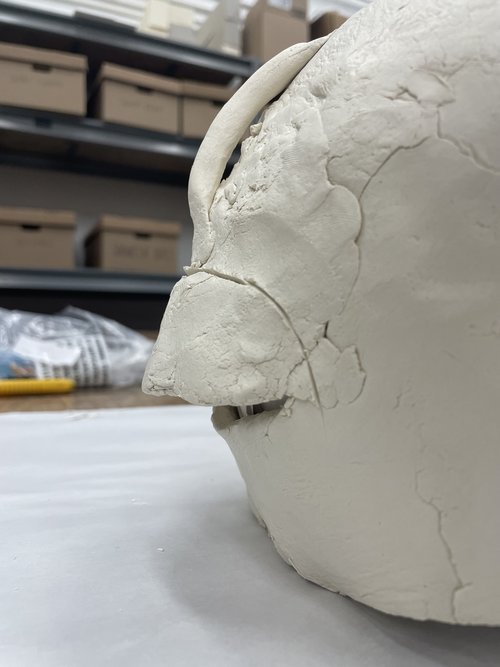
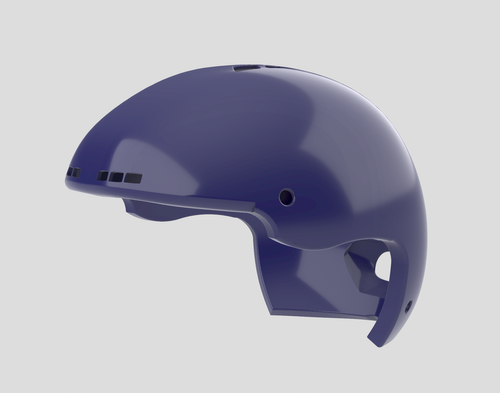
ITERATION
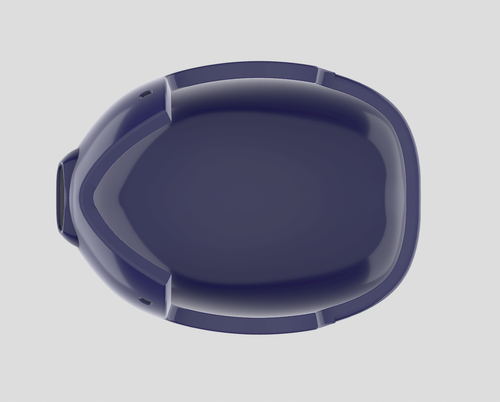
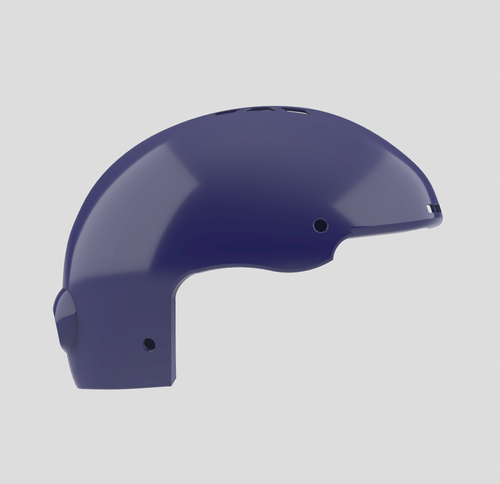
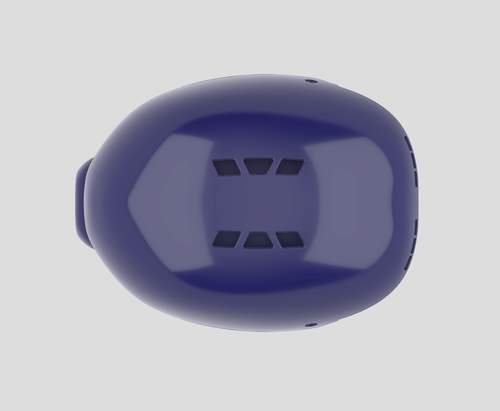
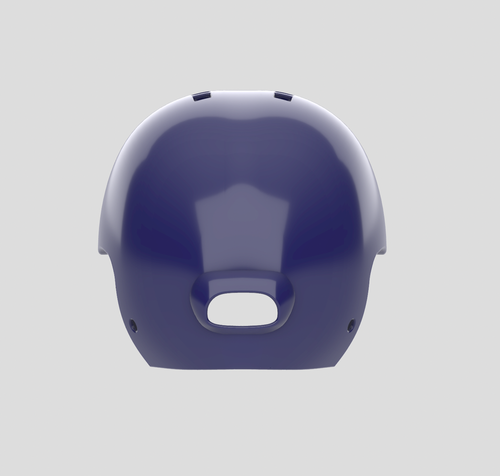
The survey provided me with enough design direction to begin developing a singular helmet concept. I used a variety of techniques, technologies, and mediums to further develop the helmet: I primarily relied on Rhino 7 for surface modeling, clay sculpting and digital sketching. I based all measurements for the final design done in Rhino 7 on my physical ski helmet.